이번 주에는 지금까지 만들어왔던 cli 프로그램을 npm에 배포하는 작업을 해봤다.
아래 레포지토리에 현재까지 작업해 왔던 cli 프로그램이 있다.
https://github.com/ghdtjgus76/design-system-cli
아무래도 우리가 원하는 동작들이 shadcn과 상당히 유사하기도 하고, npm에도 배포되어 있는 shadcn 패키지가 디자인 시스템 코드들이 아니라 cli 프로그램이기 때문에 npm 배포 관련 코드들을 많이 참고해서 이번 주 과제를 진행했다.
shadcn ui npm 배포 설정 파일
먼저 아래 코드는 shadcn에서 cli 프로그램을 배포할 때 사용한 설정 파일들이다.
// ui/packages/cli/package.json
{
  "name": "shadcn-ui",
  "version": "0.8.0",
  "description": "Add components to your apps.",
  "publishConfig": {
    "access": "public"
  },
  "license": "MIT",
  "author": {
    "name": "shadcn",
    "url": "https://twitter.com/shadcn"
  },
  "repository": {
    "type": "git",
    "url": "https://github.com/shadcn/ui.git",
    "directory": "packages/cli"
  },
  "files": [
    "dist"
  ],
  "keywords": [
    "components",
    "ui",
    "tailwind",
    "radix-ui",
    "shadcn"
  ],
  "type": "module",
  "exports": "./dist/index.js",
  "bin": "./dist/index.js",
  "scripts": {
    "dev": "tsup --watch",
    "build": "tsup",
    "typecheck": "tsc --noEmit",
    "clean": "rimraf dist && rimraf components",
    "start:dev": "cross-env COMPONENTS_REGISTRY_URL=http://localhost:3001 node dist/index.js",
    "start": "node dist/index.js",
    "format:write": "prettier --write \"**/*.{ts,tsx,mdx}\" --cache",
    "format:check": "prettier --check \"**/*.{ts,tsx,mdx}\" --cache",
    "release": "changeset version",
    "pub:beta": "pnpm build && pnpm publish --no-git-checks --access public --tag beta",
    "pub:next": "pnpm build && pnpm publish --no-git-checks --access public --tag next",
    "pub:release": "pnpm build && pnpm publish --access public",
    "test": "vitest run"
  },
  "dependencies": {
    "@antfu/ni": "^0.21.4",
    "@babel/core": "^7.22.1",
    "@babel/parser": "^7.22.6",
    "@babel/plugin-transform-typescript": "^7.22.5",
    "chalk": "5.2.0",
    "commander": "^10.0.0",
    "cosmiconfig": "^8.1.3",
    "diff": "^5.1.0",
    "execa": "^7.0.0",
    "fast-glob": "^3.3.2",
    "fs-extra": "^11.1.0",
    "https-proxy-agent": "^6.2.0",
    "lodash.template": "^4.5.0",
    "node-fetch": "^3.3.0",
    "ora": "^6.1.2",
    "prompts": "^2.4.2",
    "recast": "^0.23.2",
    "ts-morph": "^18.0.0",
    "tsconfig-paths": "^4.2.0",
    "zod": "^3.20.2"
  },
  "devDependencies": {
    "@types/babel__core": "^7.20.1",
    "@types/diff": "^5.0.3",
    "@types/fs-extra": "^11.0.1",
    "@types/lodash.template": "^4.5.1",
    "@types/prompts": "^2.4.2",
    "rimraf": "^4.1.3",
    "tsup": "^6.6.3",
    "type-fest": "^3.8.0",
    "typescript": "^4.9.3"
  }
}
// ui/packages/cli/tsup.config.ts
import { defineConfig } from "tsup"
export default defineConfig({
clean: true,
dts: true,
entry: ["src/index.ts"],
format: ["esm"],
sourcemap: true,
minify: true,
target: "esnext",
outDir: "dist",
})
참고할만한 부분은 크게 세 가지 정도인 것 같다.
1. tsup을 사용해서 번들링을 했다.
2. changeset을 활용해서 버전 관리를 하고 있다.
3. bin 프로퍼티를 지정해서 cli 실행 파일을 연결해 주었다.
cli 라이브러리 npm 배포
이 점을 참고해서 나도 cli 라이브러리 npm 배포 관련 공부를 먼저 시작했다.
알게 된 점은 다음과 같다.
cli는 우리가 배포하려는 다른 라이브러리들과 다르게, 커맨드 라인, 즉 터미널로 부르는 환경에서만 동작하면 된다.
따라서, ESM, CJS, TS 등 다양한 환경을 대응하지 않아도 되고, Node.js 환경에서만 동작하면 된다.
bin 디렉터리에는 cli 도구 실행 파일이 들어있다.
예를 들어서 아래처럼 package.json 파일에 지정해 줬다고 가정해 보자.
{
  "bin": {
    "command": "./bin/command.js"
  }
}
해당 패키지 설치 후에는 command라는 명령어를 사용할 수 있게 된다.
이 명령어를 실행하면./bin/command.js 파일을 실행시키게 된다.
npm이 이 실행 파일을 사용자 시스템 path에 자동으로 링크를 해줘서 패키지를 전역으로 설치할 때 해당 명령어를 실행할 수 있게 해주는 것이다.
또한, 번들러 관련 설정을 찾아보다가, tree shaking, code splitting, minify라는 설정을 따로 해줄 수 있다는 것을 알게 되었다.
이 세 가지 설정의 차이점에 대해서 궁금해져서 알아보았다.
먼저, tree shaking은 번들에 포함된 코드 중에서 사용되지 않는 코드를 제거해서 번들 크기를 최소화하는 것을 목적으로 한다.
rollup과 같은 번들러를 사용해서 프로젝트에 필요하지 않은 라이브러리를 포함하고 싶지 않을 때 사용된다.
code splitting은 애플리케이션의 초기 로드 속도를 향상시키기 위해서 번들을 여러 청크로 분할해서 필요한 모듈을 동적으로 로드하는 것이다.
minify는 코드 크기를 줄이고 웹페이지 로드 시간을 단축하기 위해서 코드를 압축하는 것이다.
이때 주석, 공백, 줄 바꿈 등을 제거하고 변수명을 짧게 바꾸는 등의 작업을 한다.
이 점들을 참고해서 나는 번들링 후 npm에 배포하기로 했다.
shadcn은 번들러로 tsup을 사용하였지만, 나는 rollup을 사용하기로 했다.
rollup은 라이브러리 배포 시 es6 방식으로 tree shaking을 잘해줘서 필요 없는 라이브러리들을 가져오지 않게 해 준다는 특징을 가지고 있다.
물론 tsup도 tree shaking을 해주기는 하나, 비교적 최신 번들러이기 때문에 레퍼런스가 rollup에 비해 부족하다는 이유로 rollup을 선택하게 되었다.
추후, 더 자세하게 차이점과 성능 등에 대해 비교할 예정이다.
일단, 그렇게 rollup으로 번들링 하기로 결정한 후, cli를 동작시킬 커맨드, 서브 커맨드를 추가해 주는 코드를 추가로 작성하였다.
// packages/cli/src/index.ts
#!/usr/bin/env node
import { Command } from "commander";
import { init } from "./commands/init.ts";
import { add } from "./commands/add.ts";

async function main() {
  const program = new Command()
    .name("design-system-cli")
    .description("add components and dependencies to your apps");

  program.addCommand(init).addCommand(add);
  program.parse();
}

main();
위와 같이 작성하게 되면 design-system-cli라는 커맨드에 서브 커맨드로 init과 add를 추가해 준 것이다.
아래와 같이 실행할 수 있게 된다.
npx design-system-cli initnpx design-system-cli add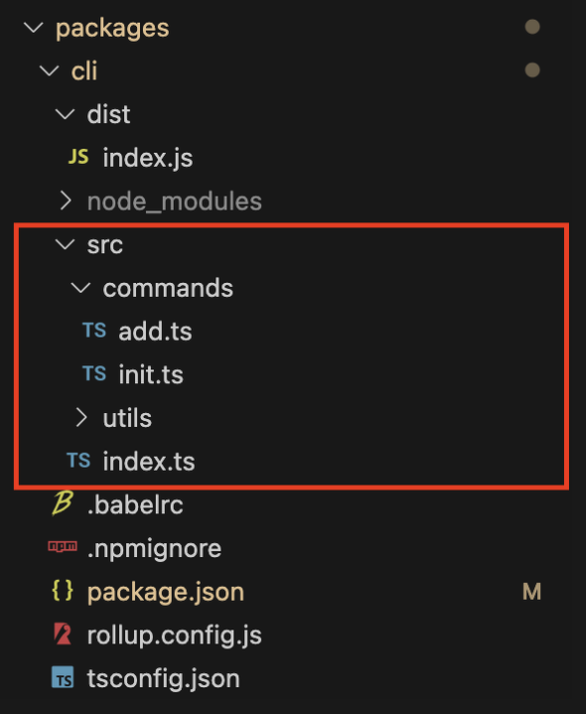
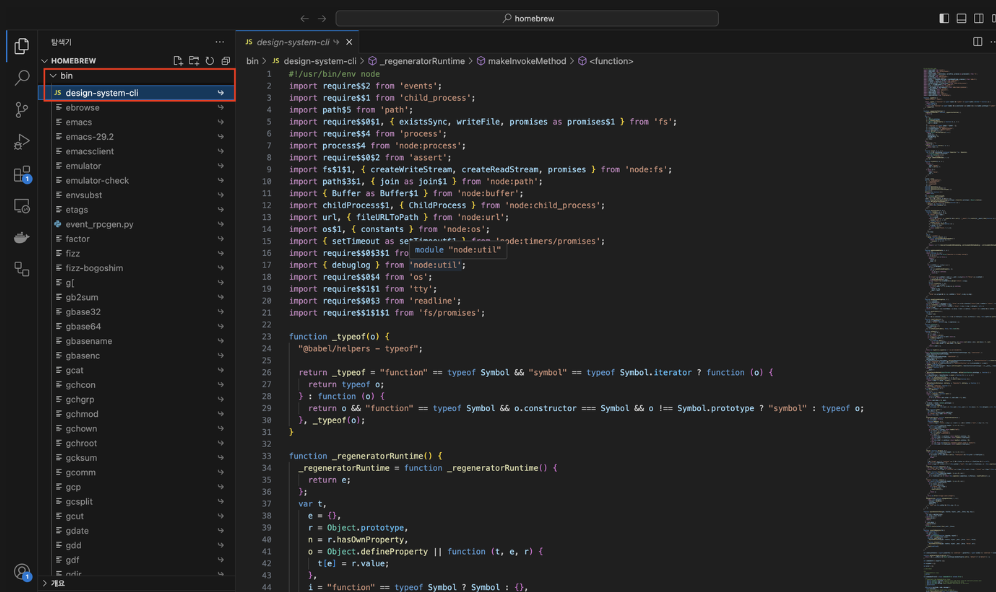
이 index.ts 파일을 빌드하면 dist/index.js 파일이 나오는데, 해당 파일을 bin 필드로 지정해서 배포하면 된다.
이후 해당 cli 명령어를 실행시키면 번들링 된 dist/index.js 파일이 실행되는 것이다.
이제 이 design-system-cli를 직접 실행시켜 보자.
https://www.npmjs.com/package/design-system-cli
먼저, 전역으로 설치해 준다.
pnpm install -g design-system-cli
이제 실행만 시켜주면 된다.
pnpx design-system-cli initpnpx design-system-cli add
아래 영상처럼 잘 실행되는 것을 볼 수 있었다.
분명 내 노트북 환경에서는...
하지만, 다른 환경에서 실행시켜 보니, 에러가 떴었다.
init에서도 에러가 발생했고, node 버전 관련 문제도 있었다.
추후, 이 문제는 꼭 해결해서 여러 환경을 다 수용할 수 있는 cli 라이브러리를 완성해 볼 예정이다.
changeset + github action을 활용한 npm 패키지 자동 배포
이제 마지막으로, changeset과 github action을 활용해서 변경 사항이 있으면 npm에 패키지 자동 배포를 하도록 설정해 주었다.
아래처럼 changeset에서 필요로 하는 패키지를 설치하고 초기화 작업을 해주었다.
pnpm install @changesets/clipnpm changeset init// .changeset/config.json
{
"$schema": "https://unpkg.com/@changesets/config@3.0.0/schema.json",
"changelog": "@changesets/cli/changelog",
"commit": false,
"fixed": [],
"linked": [],
"access": "public",
"baseBranch": "main",
"updateInternalDependencies": "patch",
"ignore": []
}
이후, github action을 활용해서 workflow를 작성해 주었다.
name: "changeset-release-action"

on:
  push:
    branches:
      - main

concurrency: ${{ github.workflow }}-${{ github.ref }}

jobs:
  release:
    name: Release
    runs-on: ubuntu-latest
    env:
      working-directory: ./packages/cli
    steps:
      - name: Checkout Repo
        uses: actions/checkout@v3

      - name: Setup Node.js 20.x
        uses: actions/setup-node@v3
        with:
          node-version: 20.x

      - name: Install pnpm
        uses: pnpm/action-setup@v3
        with:
          version: 8
          run_install: true

      - name: Build packages
        run: pnpm build
        working-directory: ${{ env.working-directory }}

      - name: Create Release Pull Request or Publish to npm
        id: changesets
        uses: changesets/action@v1
        with:
          publish: pnpm release
        env:
          GITHUB_TOKEN: ${{ secrets.TOKEN }}
          NPM_TOKEN: ${{ secrets.NPM_TOKEN }}
이렇게 작성해 주니, main 브랜치에 푸시되었을 때 변경 사항이 발생하면 npm에 자동 배포되었다.
추후에는, changelog 관련해서도 자세히 알아볼 예정이고, 이 라이브러리에도 적용해보려고 한다.
참고 자료
https://junghyeonsu.com/posts/deploy-simple-npm-library/
https://docs.npmjs.com/cli/v7/configuring-npm/package-json#bin
https://velog.io/@velopert/bundle-with-rollup-and-publish-to-npm
https://jinyisland.kr/post/changeset/
'프로젝트 개발일지 > warrr-ui 디자인 시스템' 카테고리의 다른 글
| [warrr-ui 디자인 시스템 개발기] 스토리북과 테스트 (0) | 2024.05.22 |
|---|---|
| [warrr-ui 디자인 시스템 개발기] CI/CD (0) | 2024.05.16 |
| [warrr-ui 디자인 시스템 개발기] 노드 파일 시스템과 컴포넌트 레지스트리 파일 생성 스크립트 작성 (0) | 2024.04.22 |
| [warrr-ui 디자인 시스템 개발기] commander를 활용한 init, add cli 실습 (0) | 2024.04.11 |
| [warrr-ui 디자인 시스템 개발기] shadcn ui 분석 (1) | 2024.03.30 |